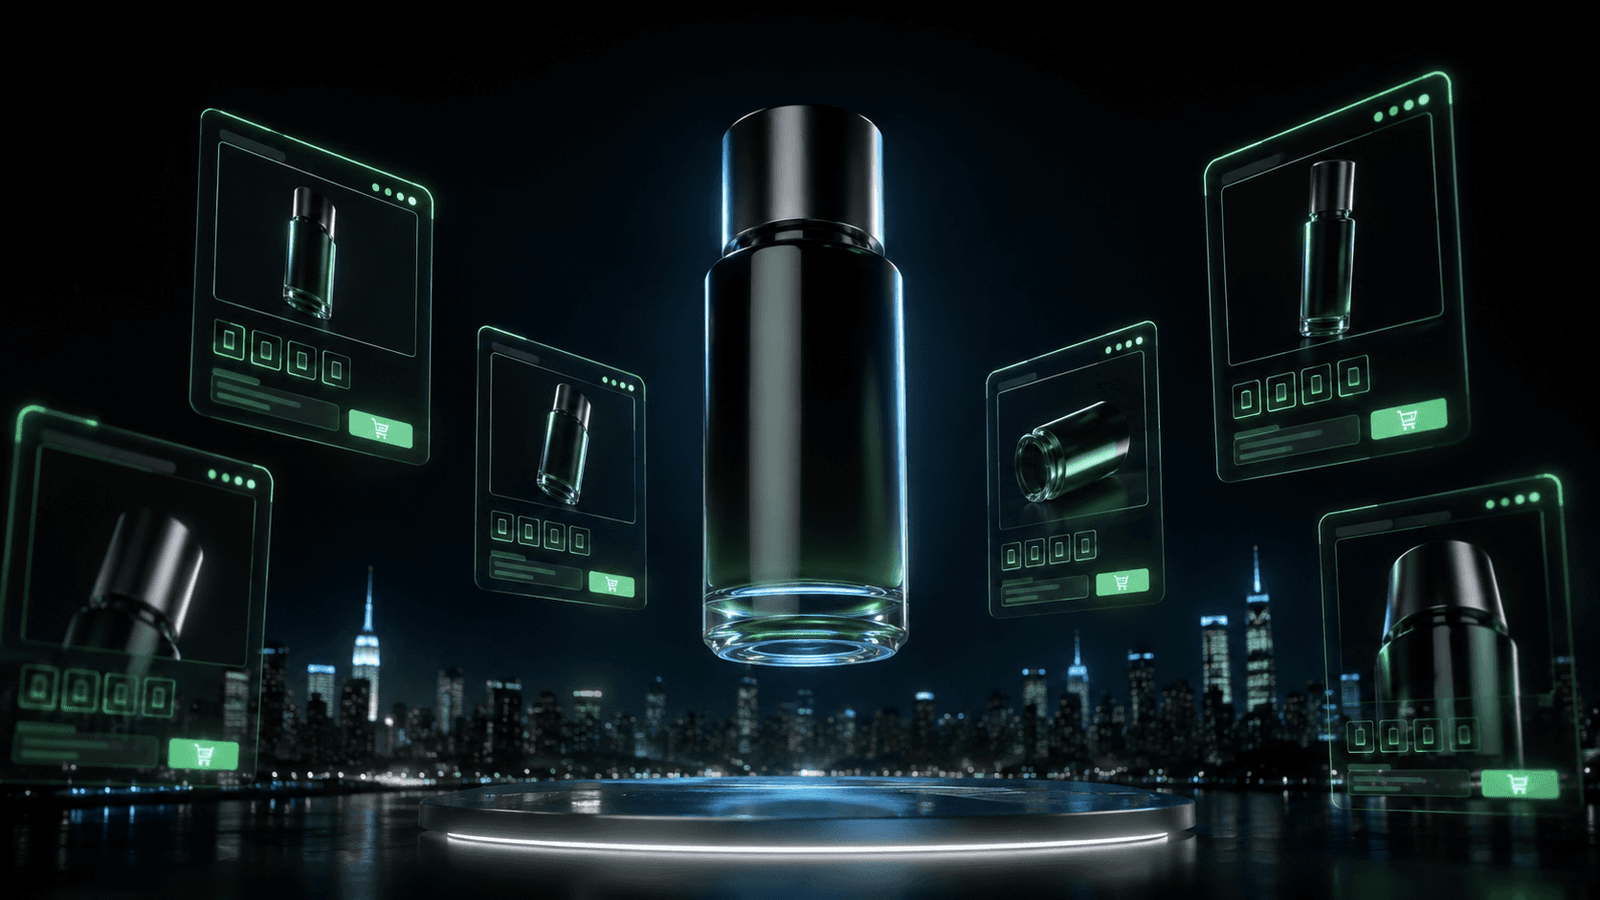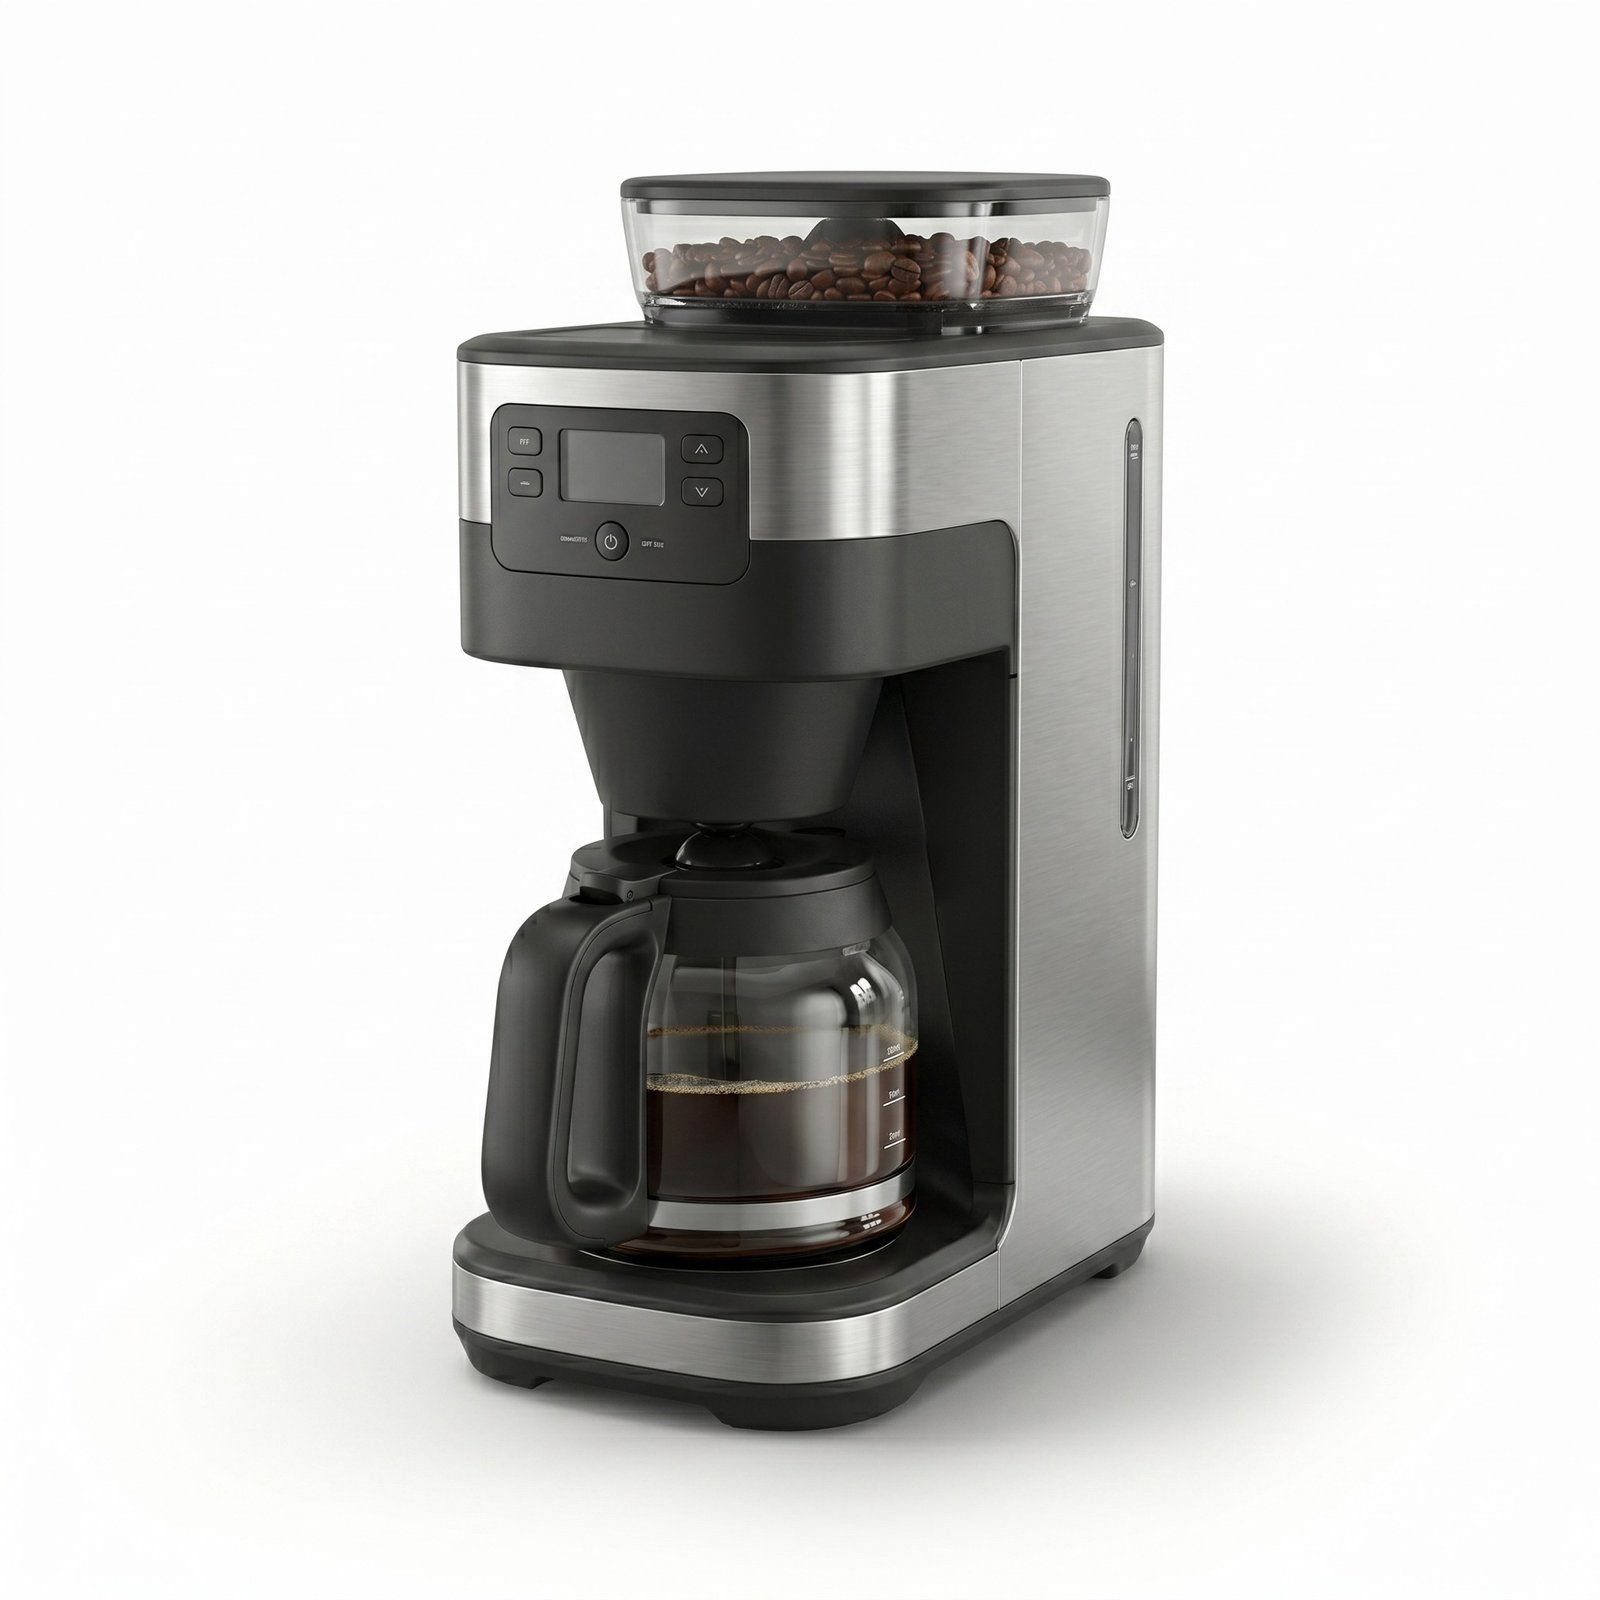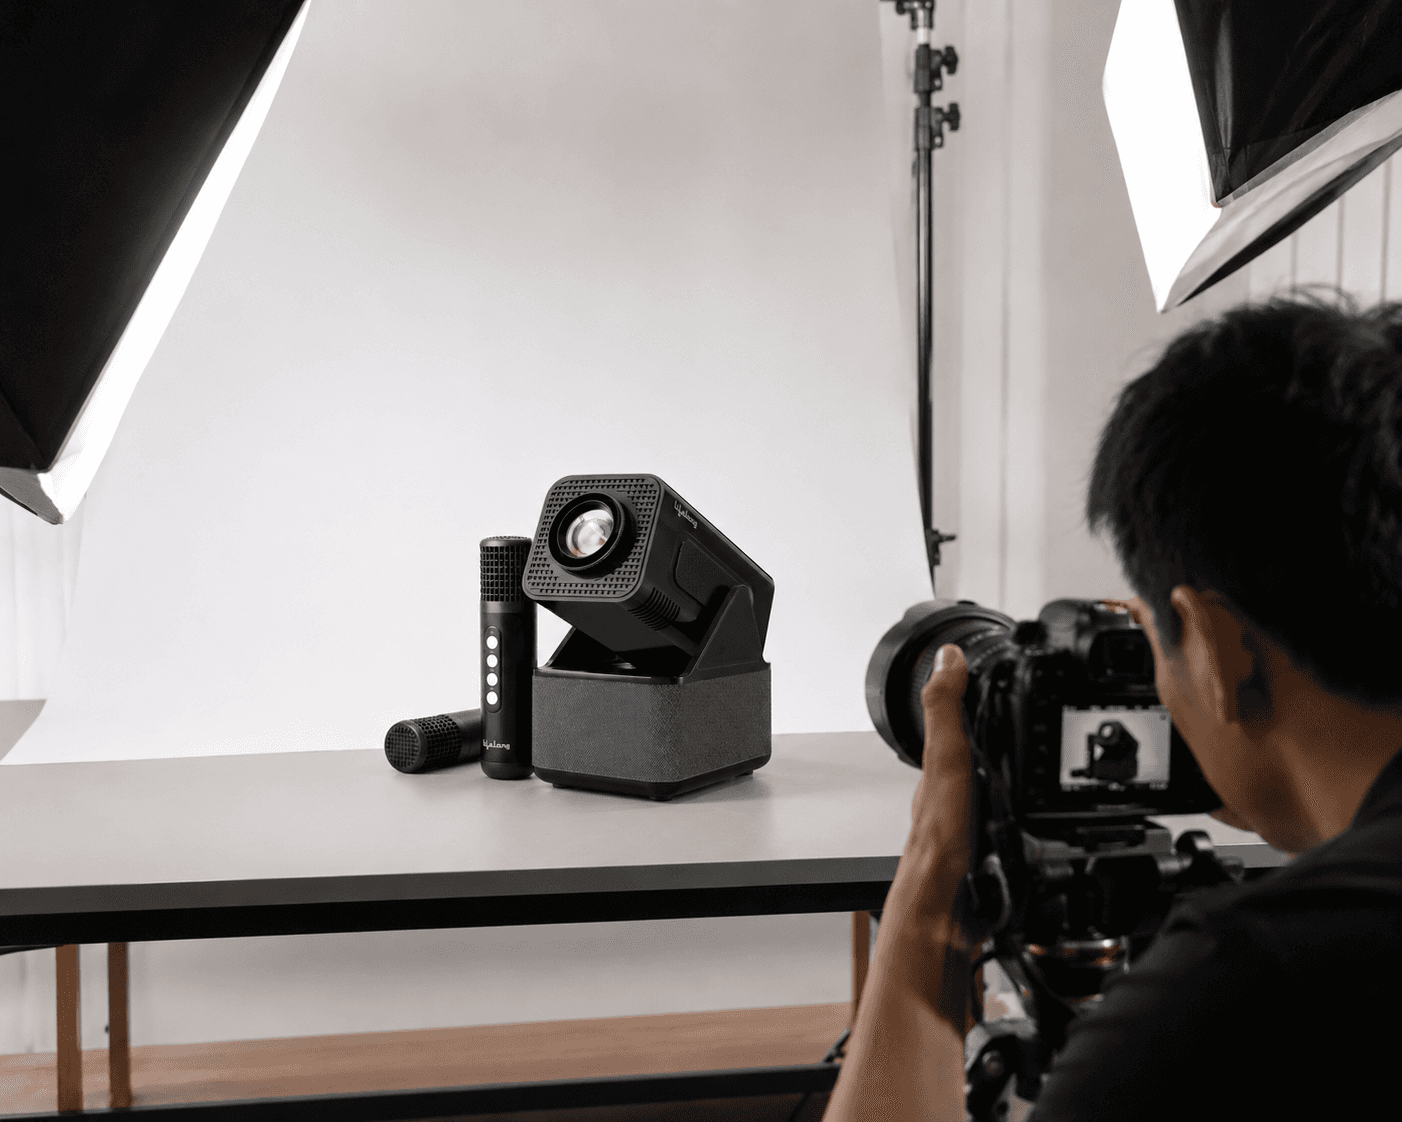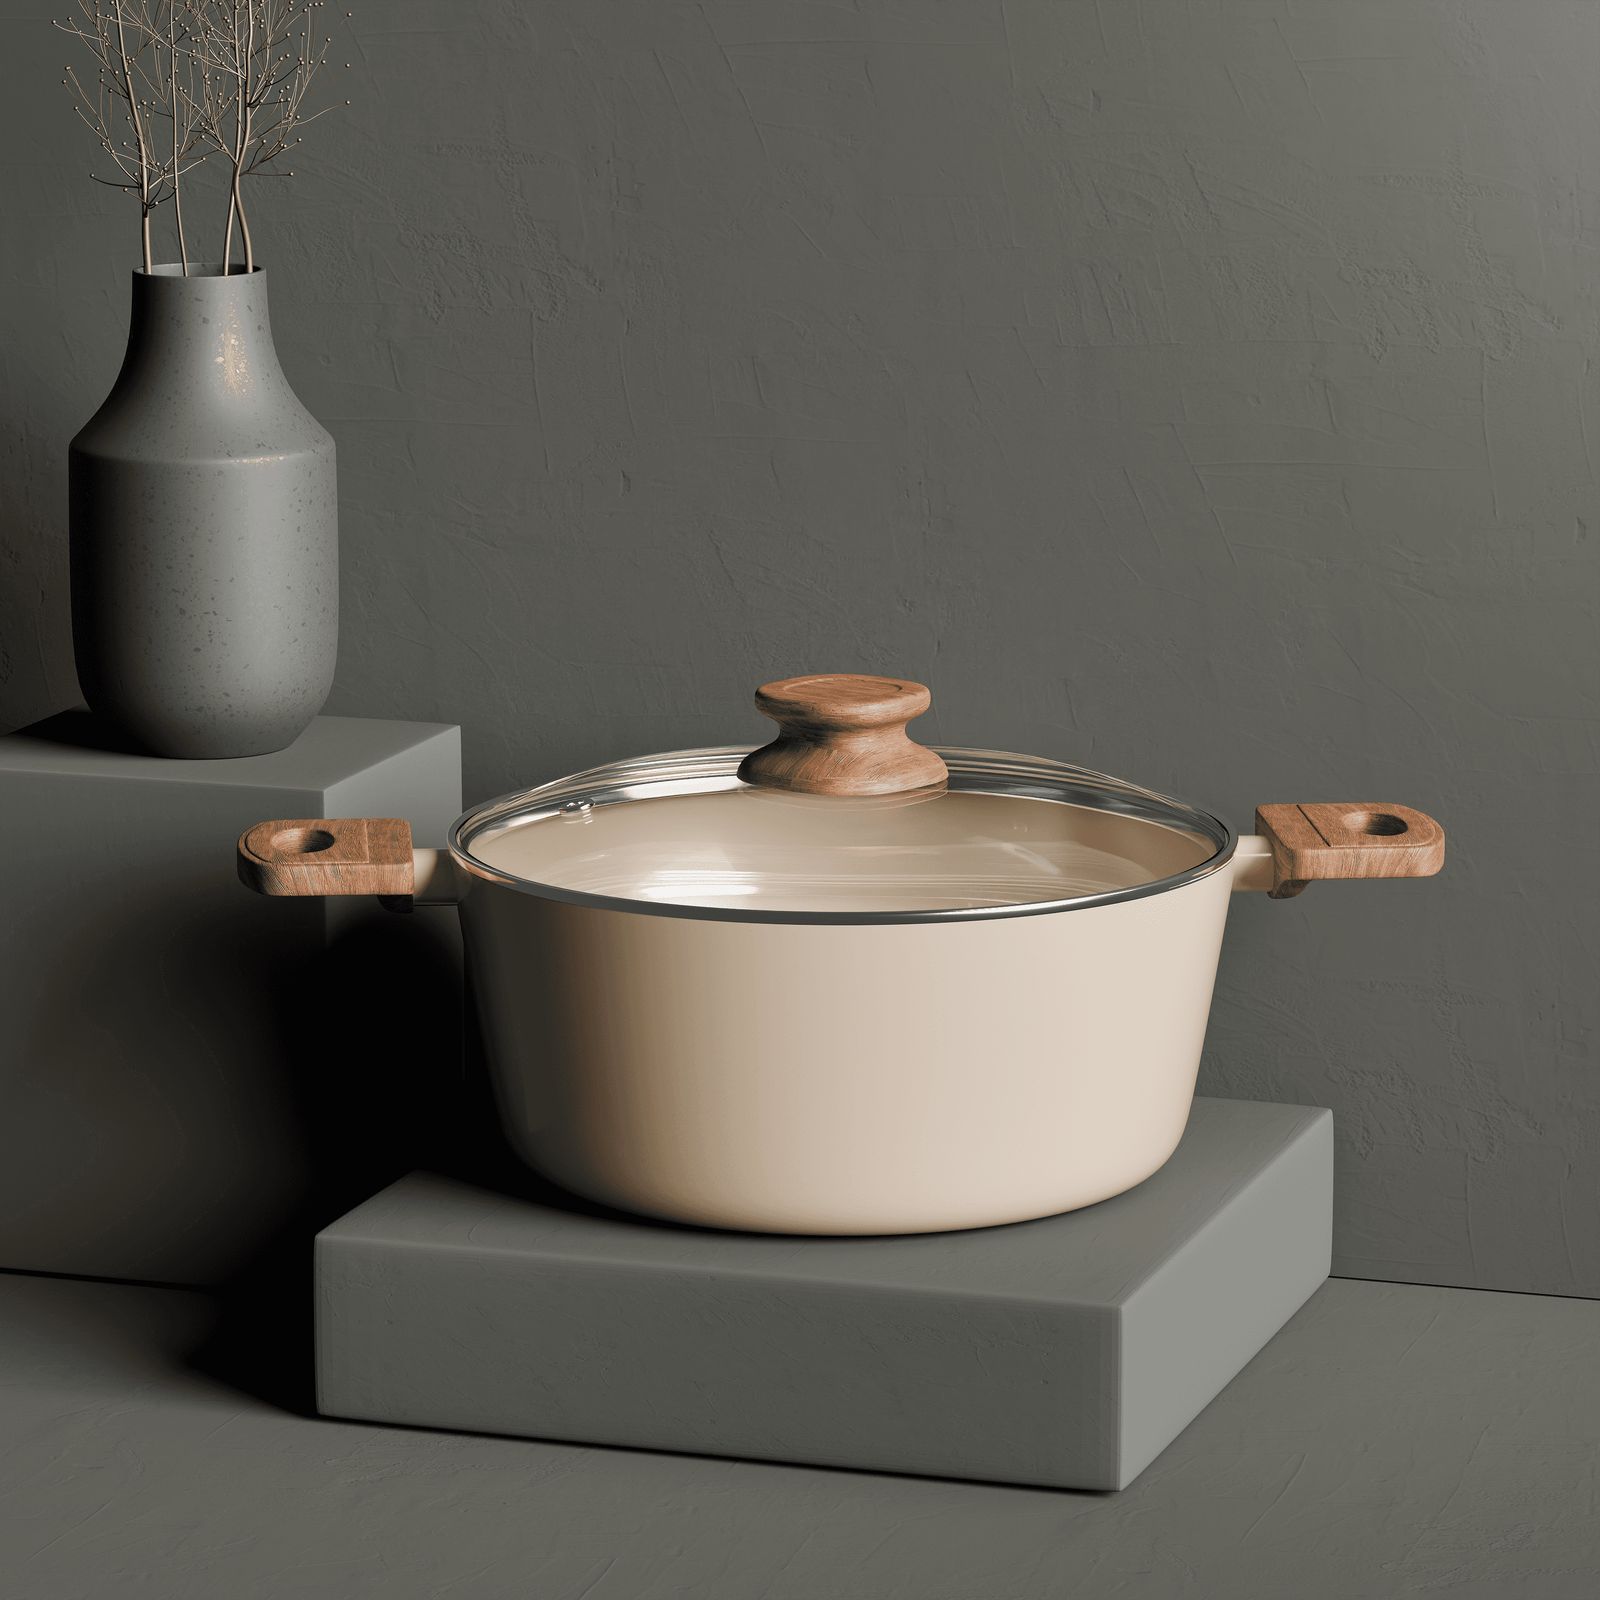

3D product modelling is the construction of a mathematically precise digital replica of a product inside specialist 3D software, built to real dimensions so it can be lit, textured and rendered as if it were the physical object. A render-ready model is one that behaves under any lighting, any camera and any material change without needing geometry edits.
The 7 stages of a professional pipeline
The stages are not marketing categories. Each one produces a specific artefact the next stage depends on, and skipping any of them is where cheap models go wrong.
- Brief and asset intake: CAD files, technical drawings, reference photography (minimum 8 to 10 angles), Pantone or hex colour values, material specs and packaging dielines
- Reference analysis and modelling plan: complexity budget, tool choice, polygon count and file structure decided before a single vertex is placed
- Base geometry construction: polygon meshes, NURBS curves or parametric tools chosen for the product type
- Detail and feature refinement: thread patterns, embossed text, seams, stitching, port openings and surface imperfections
- UV unwrapping and texturing: albedo, roughness, normal, specular and opacity maps, plus branded packaging artwork applied cleanly
- Model audit and QC: geometry integrity, scale accuracy, texture alignment, UV seams and polygon efficiency all verified
- Render setup and final output: lighting, camera and render-engine pass to produce the delivery files
What makes a model render-ready
A render-ready model holds up in any HDRI environment, scales without degradation, accepts a new material without geometry surgery, exports cleanly across software, and has topology tidy enough to animate later. If any of those fail, the model is a single-use asset dressed up as a permanent one.
File formats you should receive
- FBX or OBJ as universal interchange formats
- The native source file (BLEND, MAX or C4D) so future edits do not start from scratch
- 4K+ TIFF or PNG renders plus web-optimised JPEG
- A texture map folder with every map used
- USDZ or GLB if AR or on-page 3D is planned
What modelling actually costs in India
- Simple packaging (box, pouch, sachet): ₹2,500 to ₹5,000
- Bottle or jar with label: ₹5,000 to ₹10,000
- Consumer electronics: ₹10,000 to ₹25,000
- Furniture, single piece: ₹15,000 to ₹40,000
- Multi-component sets or mechanical assemblies: ₹20,000 to ₹60,000+
Standard products land in 2 to 4 business days. Complex products with intricate geometry or multiple materials take 5 to 10 days. Providing CAD upfront cuts modelling time by 30 to 40 percent, which is the single biggest lever a brand has on both price and calendar.
The briefing mistakes that cost the most
- Sending only front-facing photography and expecting an accurate back panel
- Not stating the end use, so a marketplace-only model gets built to animation spec (or vice versa)
- Treating packaging artwork as an afterthought instead of a controlled colour asset
- Approving a low-polygon draft as final geometry and then asking for close-up renders
- Skipping the ownership conversation, so the file lives with the studio and the next render pays for modelling again
A 30-minute properly written brief saves 3 to 5 revision days later. That is usually the cheapest half-hour in the project.
When cheaper modelling is actually fine
If the product is a one-off promo item that will produce two images and never be seen again, a full render-ready build is overkill. A low-polygon model, textured well and rendered from two fixed angles, will look identical for that use case at a fraction of the cost. The pipeline above is for products that will keep earning their model back.